Retouching
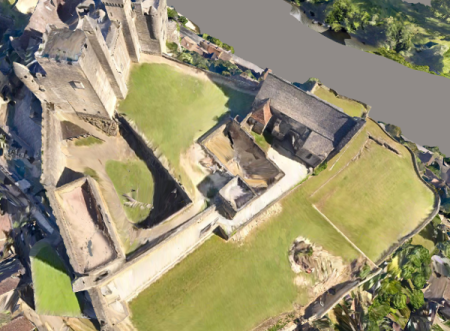
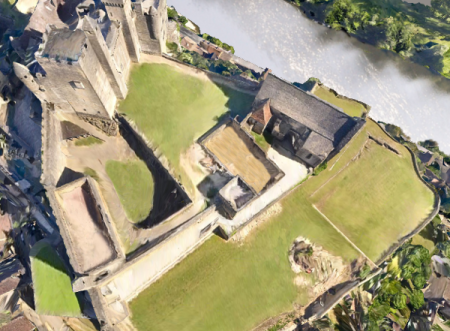
In some cases, the output 3D models may include misconstructions that need to be fixed (unseen areas, reflective parts, water area...).
Output 3D models may be fixed in a third party software at the end of, or during the ContextCapture process by modifying the reconstruction reference 3D model.
Retouching the ContextCapture reconstruction reference 3D model allows to benefit from ContextCapture automatic texturing and/or output formats.
Important notice: Retouching process may be avoided by managing Reconstruction constraints.
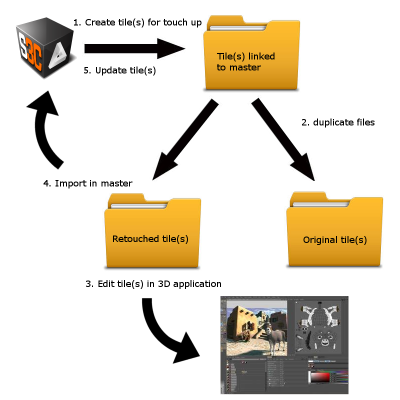
Touch up workflow
In most cases, the advised process is the following:
- Identify the tiles where
retouching is needed.
You must first produce the model in 3MX format and visualize it in ContextCapture Viewer. When defects are detected, select the corresponding tiles (Menu > Tools > Tile selection) and export the list of tiles to retouch in a .TXT file.
- Create production for
retouching.
Submit a new production with the purpose 3D model for retouching from the active reconstruction:
- Name: as you want.
- Description: optional.
-
Selection:
- Manually select the desired tiles by checking the corresponding boxes.
- You can alternately load a tile selection file including the list of tiles with the Load selection button.
- Or you can automatically select tiles by loading a KML file with the Define selection from KML button. All tiles included in / crossed by the polygon described in the KML will be selected.
- Purpose: choose 3D mesh for retouching.
- Format: DGN (default) or OBJ wavefront (default).
-
Options: include or not the texture (it
is recommended to include texture as it helps interpretation during
retouching).
Optional: change the color of non-textured faces.
- Directory: choose directory where files will be generated (see below).
See also Production.
 You should preserve the file
structure of the production to be able to later import retouched tiles into
ContextCapture Master.
You should preserve the file
structure of the production to be able to later import retouched tiles into
ContextCapture Master.
- [Optional] Save a copy of
the reference 3D model before retouching.
If you want to keep track of all different stages of the retouching process, f or each tile, make a copy of the directory which contains the tile ready for retouching:
- Edit tiles with a 3D
application
Edit the tile with a third-party modeler like Bentley Descartes, Autodesk 3ds Max, Rhinoceros 3D, Autodesk Maya, Autodesk Mudbox , Autodesk MeshMixer , MeshLab ...
- Import retouched tiles
into
ContextCapture Master
In ContextCapture Master: at the reconstruction level, in the Reference 3D model tab, click on Import retouched tiles.
Add the directory containing the modified tiles with the Add retouched tiles directory button in the table Geometry touchup or Texture and geometry touchup, depending on the type of modification that was performed.
Click the Import retouched tiles button to close the dialog.
See also Import retouched tiles.
It is recommended to check the imported tiles in ContextCapture Viewer: at the Reconstruction level, in the Reference 3D model tab, right click on a tile and choose Open tile with ContextCapture Viewer.
See also Reference 3D model.
- Restart production
Retouching a tile turns the
entire productions that include it into the state requiring update.
You can update your production either by:
- Updating the production(s) that include(s) the modified tiles: press the Submit update button at production level to allow the modifications to be taken into account in a production.
- Submit (ting) a new production that will take into account the modified tile(s).
Note: In case you want to cancel modifications that were made to tiles outside ContextCapture Master, click the Reset tiles button at the reconstruction level in the Reference 3D model tab. It will open a dialog where you can select the tiles that you want to reset and compute again. See also Reset tiles.